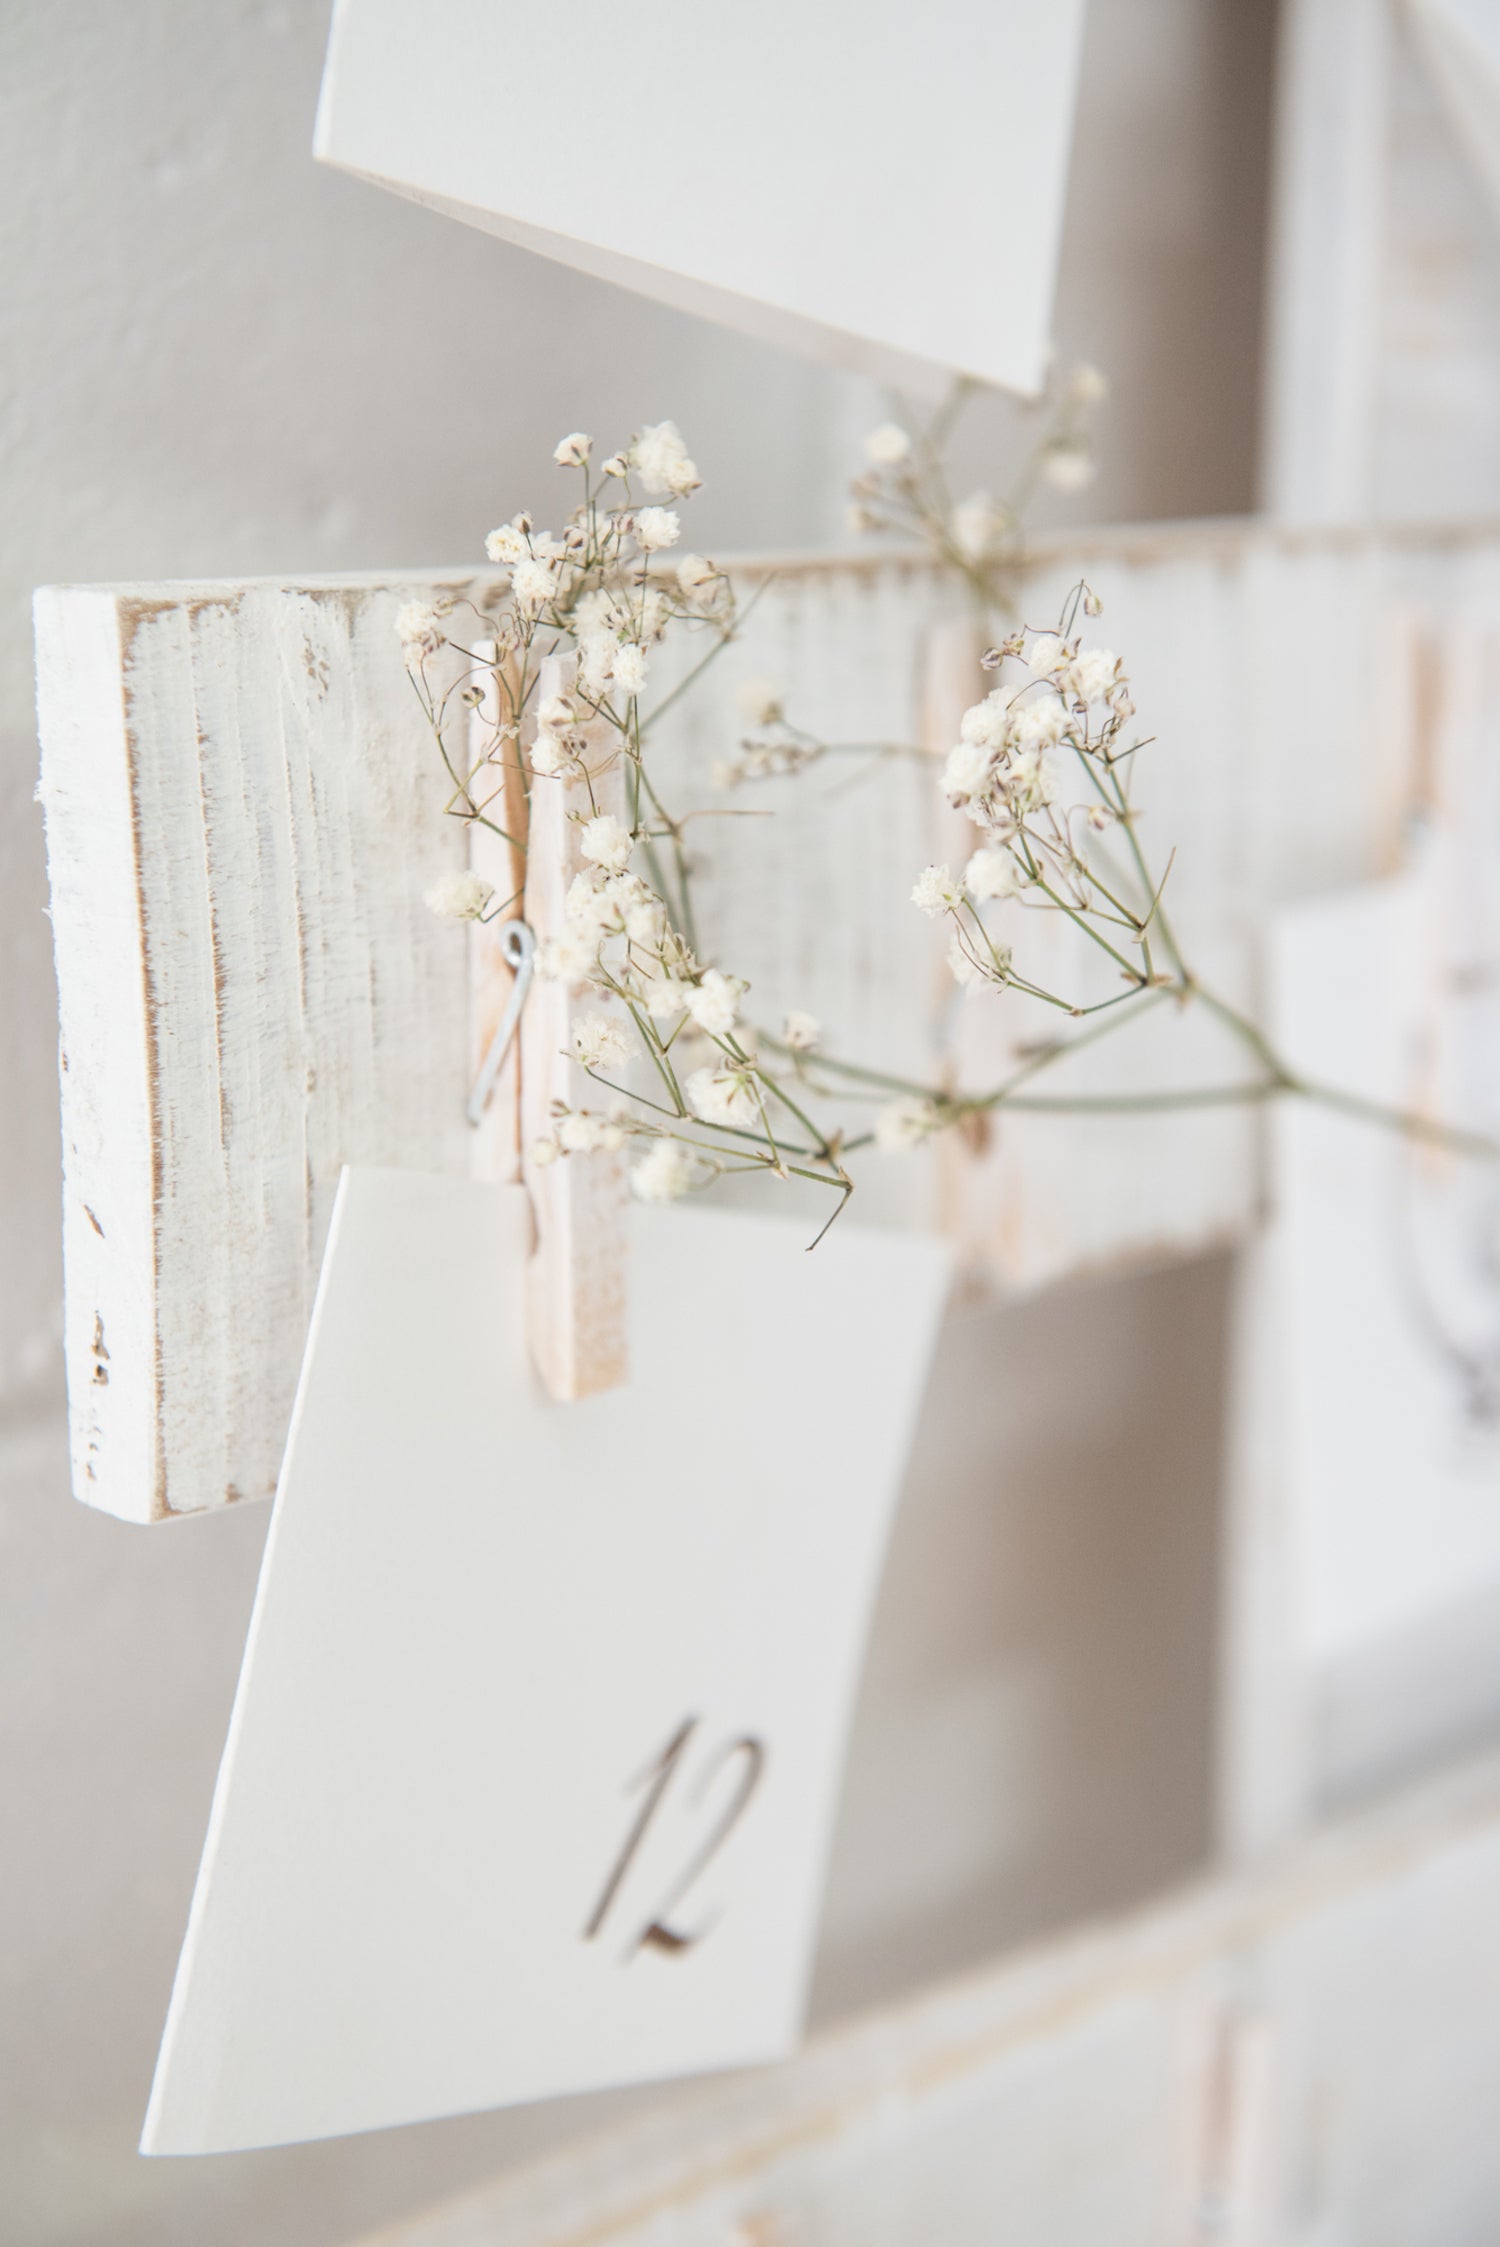
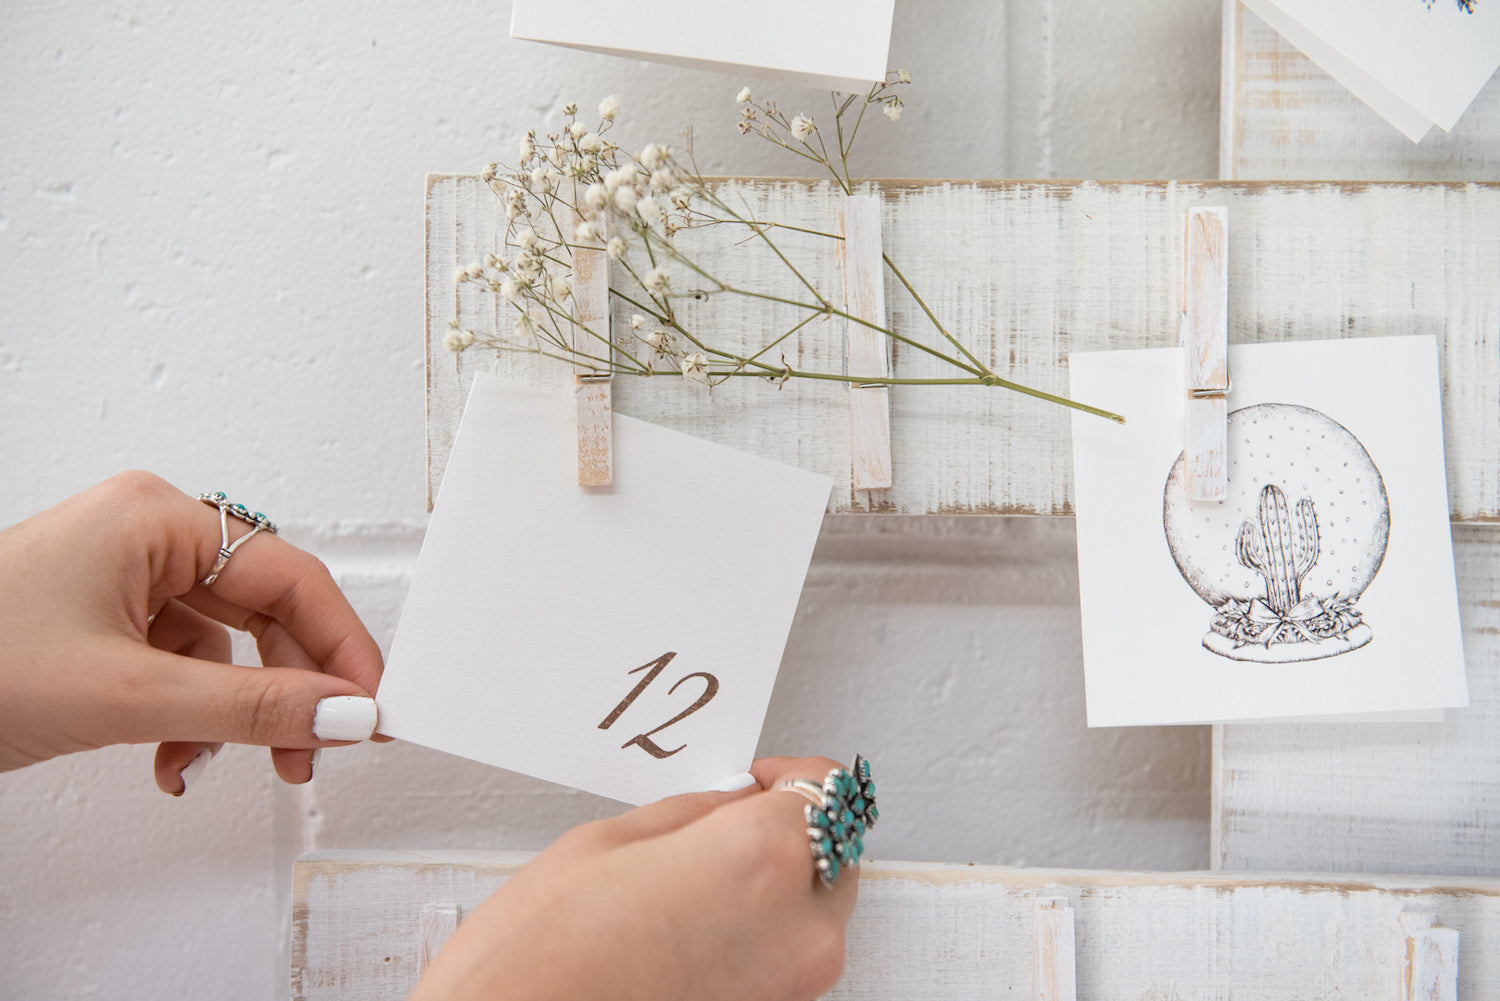
Spell DIY Advent Calendar ~ illustrations by Steph Elise
We decided that this year we wanted to count down the days to Christmas ‘Spell’ style… So we decided on an advent calendar and got our DIY on!
We searched around on Pinterest (as you do for DIY!) and found ourselves a gorgeous one on A Beautiful Mess’ DIY so we decided to get our DIY angel, Mez who is always getting crafty to give it a crack, and we think it turned out pretty amazing!
WHAT YOU’LL NEED ::
A small wooden pallet (dismantled)
25 pegs (if you’re making an advent calendar)
Measuring tape
Liquid nails (we tried actual nails and hammer, but this ended up splitting the wood so we did liquid nails!)
Wood glue
Saw
White paint (regular household paint we had lying around!)
Sandpaper
INSTRUCTIONS ::
Step 1: Split apart the pallet to make separate pieces of wood (or just grab wood to size from your local hardware store)
Step 2: Measure out the wood to your desired size and saw it up to size . We made our tree around 1 metre high, and the top tier starts at 30cm, each one getting longer by 5cm as the pieces go down.
Step 3: Sand back your wood if needed for painting.
Step 4: Paint your wood and pegs and allow at least an hour to dry, we waited around 3 hours (we went for a rustic, lightly painted effect)
Step 5: After paint is dry, sand back as desired.
Step 6: Measure out your distances between each tier, we did 6cm.
Step 7: Use the wood glue to glue on your star (we bought a pre-made one) and pegs.
Step 8: Attach wood to ‘trunk’ by liquid nails/or nail them if you’re more of a carpenter than we are.
Step 9: Allow to dry and your tree is finished!
Step 10: If you’re making an advent calendar like we did, attach your 25 cards counting down to Christmas Day, each card can have a different date on it, or just be numbered 1-25 (ie 1st Dec – 25th Dec), we suggest a different holiday affirmation in each card!
Good luck! We would love to see your DIY if you give it a try, so tag us on Instagram #SPELLDIY @spell
xx Team Spell


